初入网络爬虫
首先要检查我们所写的网络爬虫要符合什么样的协议标准:robots.txt
通常robots.txt这样的文件在网站域名/robots.txt中获取,比如:
访问:
http://example.webscraping.com/robots.txt
获取webscring的robots.txt识别网站所用的模块
利用命令行安装builtwith:
使用方法:1
2
3>>>python
>>>import builtwith
>>>builtwith('http://example.webscraping.com')
寻找网站所有者
安装whois:1
pip install python-whois
使用方法:1
2>>>import whois
>>>print whois.whois('appspot.com')
编写爬虫
- 利用urllib2模块下载URL
- 设置用户代理
- 利用正则表达式解析网站地图
- ID遍历爬虫
- 利用urllib2模块来支持代理
- 链接爬虫
- 改相对链接为绝对链接
代码思想
- 支持代理方面可以用更友好的Python HTTP模块
- 下载限速为未在两次下载设置延时所致利用
time.sleep()解决- 爬虫陷阱为在一个链接中动态生成无限个链接所致,将访问深度预先设置好就行,若不想使用该功能,将
max_depth设置成负数就行
数据抓取
正则表达式
安装:1
pip install beautifulsoup4
Beautiful Soup补全HTML格式:1
2
3
4
5>>>from bs4 import BeautifulSoup
>>>broken_html = '<ul class=country><li>Area<li>Population</ul>'
>>>soup = BeautifulSoup(broken_html, 'html.parser')
>>>fixed_html = soup.prettify()
>>>print fixed_html
输出结果为:1
2
3
4
5
6
7
8<ul class="country">
<li>
Area
<li>
Population
</li>
</li>
</ul>
Lxml
Lxml为基于libxml2这一XML解析库的Python,该模块用C语言编写,速度比BeautifulSoup更快
使用示例:1
2
3
4
5>>>import lxml.html
>>>broken_html = '<ul class=country><li>Area<li>Population</ul>'
>>>tree = lxml.html.fromstring(broken_html)
>>>fixed_html = lxml.html.tostring(tree, pretty_print=True)
>>>print fixed_html
输出结果为:1
2
3
4<ul class="country">
<li>Area</li>
<li>Population</li>
</ul>
CSS选择器
- 选择所有标签:
*- 选择< a >标签:
a- 选择所有 class = “link”的元素:
.link- 选择classs = “link”的< a >标签:
a.link- 选择 id = “home”的< a >标签:
a#home- 选择父元素为< a >标签的所有< span >子标签:
a > span- 选择< a >标签内部的所有< span > 标签:
a span- 选择 title属性为”Home”的所有< span >标签:
a [title=Home]
Xpath
- 选择所有标签:
//*- 选择< a >标签:
//a- 选择所有 class = “link”的元素:
//*[contains(@class,'link')]- 选择classs = “link”的< a >标签:
//a[contains(@class,'link')]- 选择 id = “home”的< a >标签:
//*[@id='home']- 选择父元素为< a >标签的所有< span >子标签:
//a/apan- 选择< a >标签内部的所有< span > 标签:
a span- 选择 title属性为”Home”的所有< span >标签:
a [title=Home]
Scrapy
Scrapy是一个流行的网络爬虫框架,它拥有很多简化网站抓取的高级函数>
安装:1
pip install Scrapy
测试Scrapy是否成功安装:1
$ scrapy -h
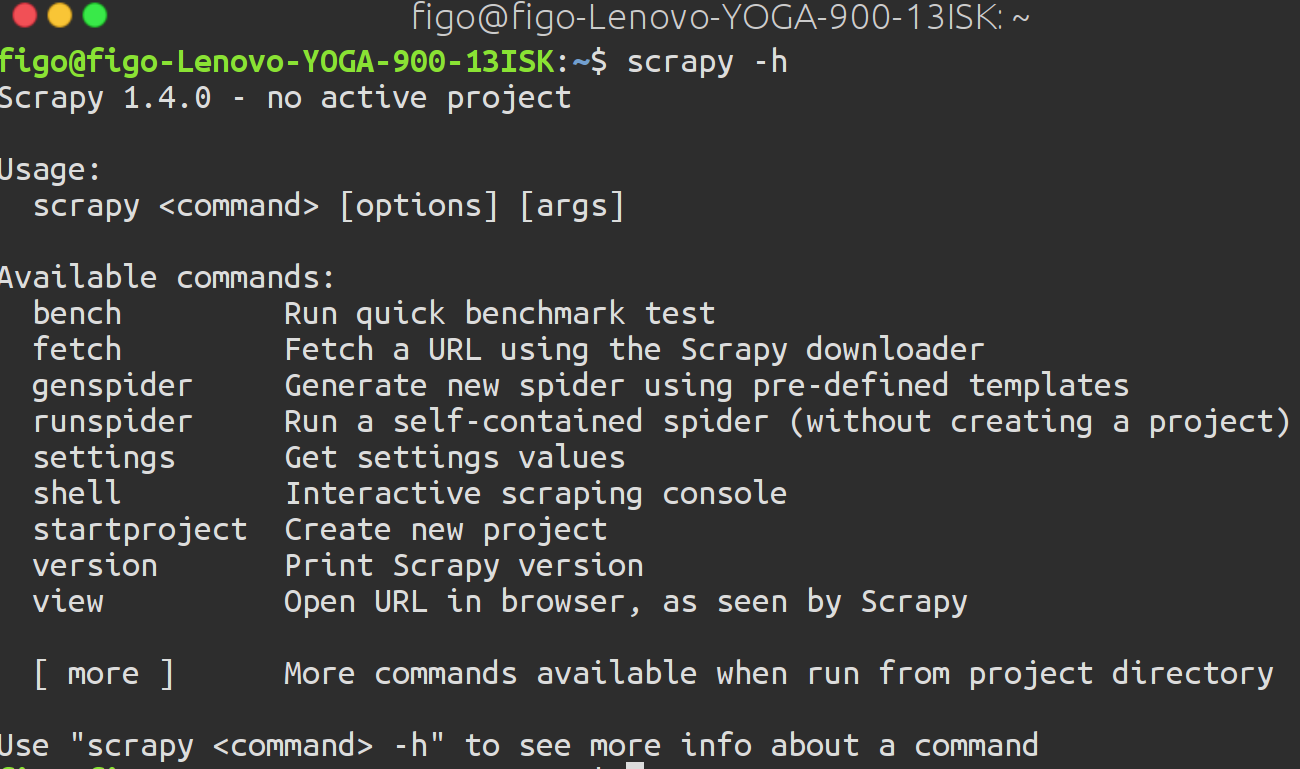
Scrapy的使用命令
startproject:创建一个新项目genspider:根据模板生成一个新爬虫crawl:执行爬虫shell:启动交互式抓取控制台
启动项目
运行startproject生成项目example的默认结构:1
$ scrapy startproject example
生成的初始文件为:
此时我们改变为抓取国家和人口1
2
3
4import scrapy
class ExampleItem(scrapy.Item):
name = scrapy.Field()
population = scrapy.Field()
创建爬虫
利用
genspider命令传入爬虫名,域名和可选的模板,就可生成初始模板
1 | $ scrapy genspider country example.webscraping.com --template=crawl |
这行命令会使/example/spider中出现一个country.py文件
1 | class CountrySpider(CrawlSpider): |
其中,有以下属性
name:该属性为定义爬虫名称start_urls:该属性定义了爬虫起始URL列表allowed_domains:该属性定义了可爬取的域名列表.未定义则可爬取任何域名rules:该属性为一个正则表达式集合,告知爬虫需要跟踪的链接
优化属性
设定要爬取的网页
即改变rules中的属性,设定deny='/user/'防止爬取用户登陆和注册表单
2
3
4
Rule(LinkExtractor(allow='/index/', deny='/user/'),follow=True),
Rule(LinkExtractor(allow='/view/', deny='/user/'), callback='parse_item')
)设定爬虫对同时对一个域名只能发起一次请求
- 两次请求之间延迟5秒
在setting.py中加入以下两行代码:1
2CONCURRENT_REQUESTS_PER_DOMAIN = 1
DOWNLOAD_DELAY = 5
测试爬虫
在运行过scrapy的情况下在命令行中输入1
$ scrapy crawl country
此时,终端中显示的信息为所有信息,如果要只看一部分信息的话,在代码最后加上
-s LOG_LEVEL= ~~代表诸如ERROR,INFO或者DEBUG等信息模式
实际应用为:1
2$ scrapy crawl country -s LOG_LEVEL=ERROR
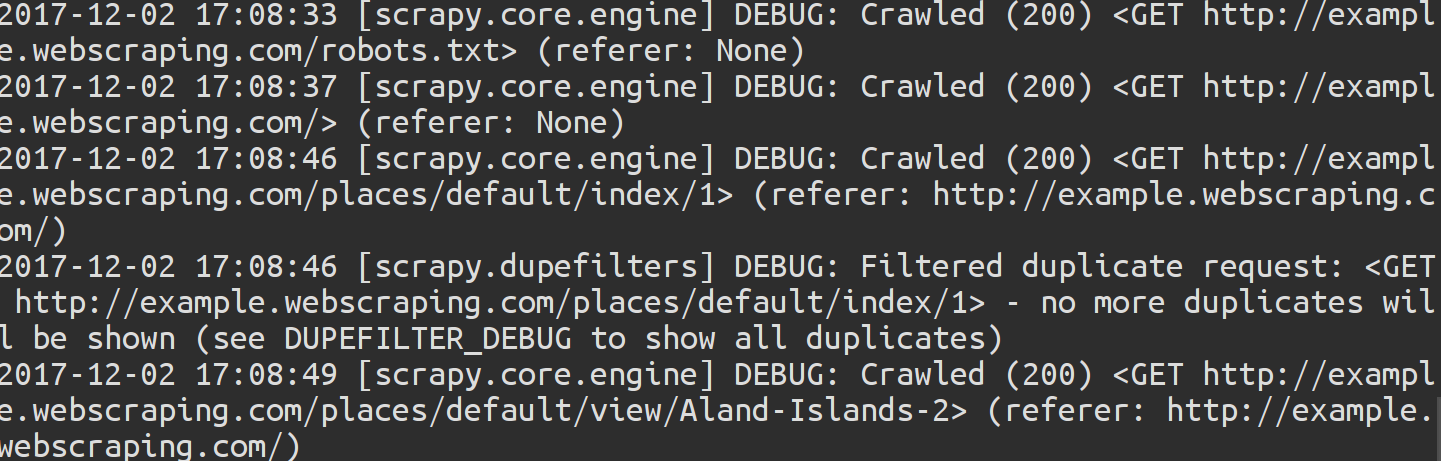
$ scrapy crawl country -s LOG_LEVEL=DEBUG
以下为LOG_LEVEL=DEBUG情况下返回的信息: